SnapMaker U1

Meet the latest addition to our collection - the SnapMaker U1. We supported development of this printer on KickStarter. It's a 4 head printer which can print in 4 colors, but it doesn't waste filament like other color printers, including our BambuLab P1S, do. The print area is 270mm x 270 mm x 270 mm. So far we have printed a dragon and now we are printing an Orca. Prints are a lot faster because it doesn't have to swap filament, it only has to swap the head. The Orca is going to take 2 hours, whereas the same print on the P1S will take 6 hours. This printer will save a lot of time and filament. Liam calls this printer the "new machine". He says the New Machine is very fast and he gives it 5/5 stars!

Elegoo Centauri Carbon

We made an addition to our little 3D print farm - the Elegoo Centauri Carbon. The printer is similar to our Bambu Lab printers, but it only prints in a single color. The printer is fast and the prints turn out great. Was a great investment at only $300. Would be a great printer for anybody looking to start 3D printing. The printer is enclosed with a glass top and front door. The spool is mounted on the side, so it doesn't need a lot of space. Unboxing and setup was very easy. Once you removed the transport screws from the inside of the printer and plugged it in you are ready to print. Setup takes a few minutes while it calibrates everything. The touchscreen display is great and allows you to control most every aspect of the printer. The Elegoo slicer software is easy to use and makes it easy to print. I wish there was an iPhone app like Bambu has, but otherswise it is a great printer. If you are looking to get into 3D printing, $300 will get you a very capable and easy to use printer. Liam has been able to figure out how to work the slicer and the touchscreen, so he is making his own prints. He downloads thing to print by himself and imports them in to the slicer. He does it all except designing his own prints. But I'm sure he will be doing that soon enough! Liam gives the Elegoo Centauri Carbon 5/5 stars!

BambuLab P1S With AMS

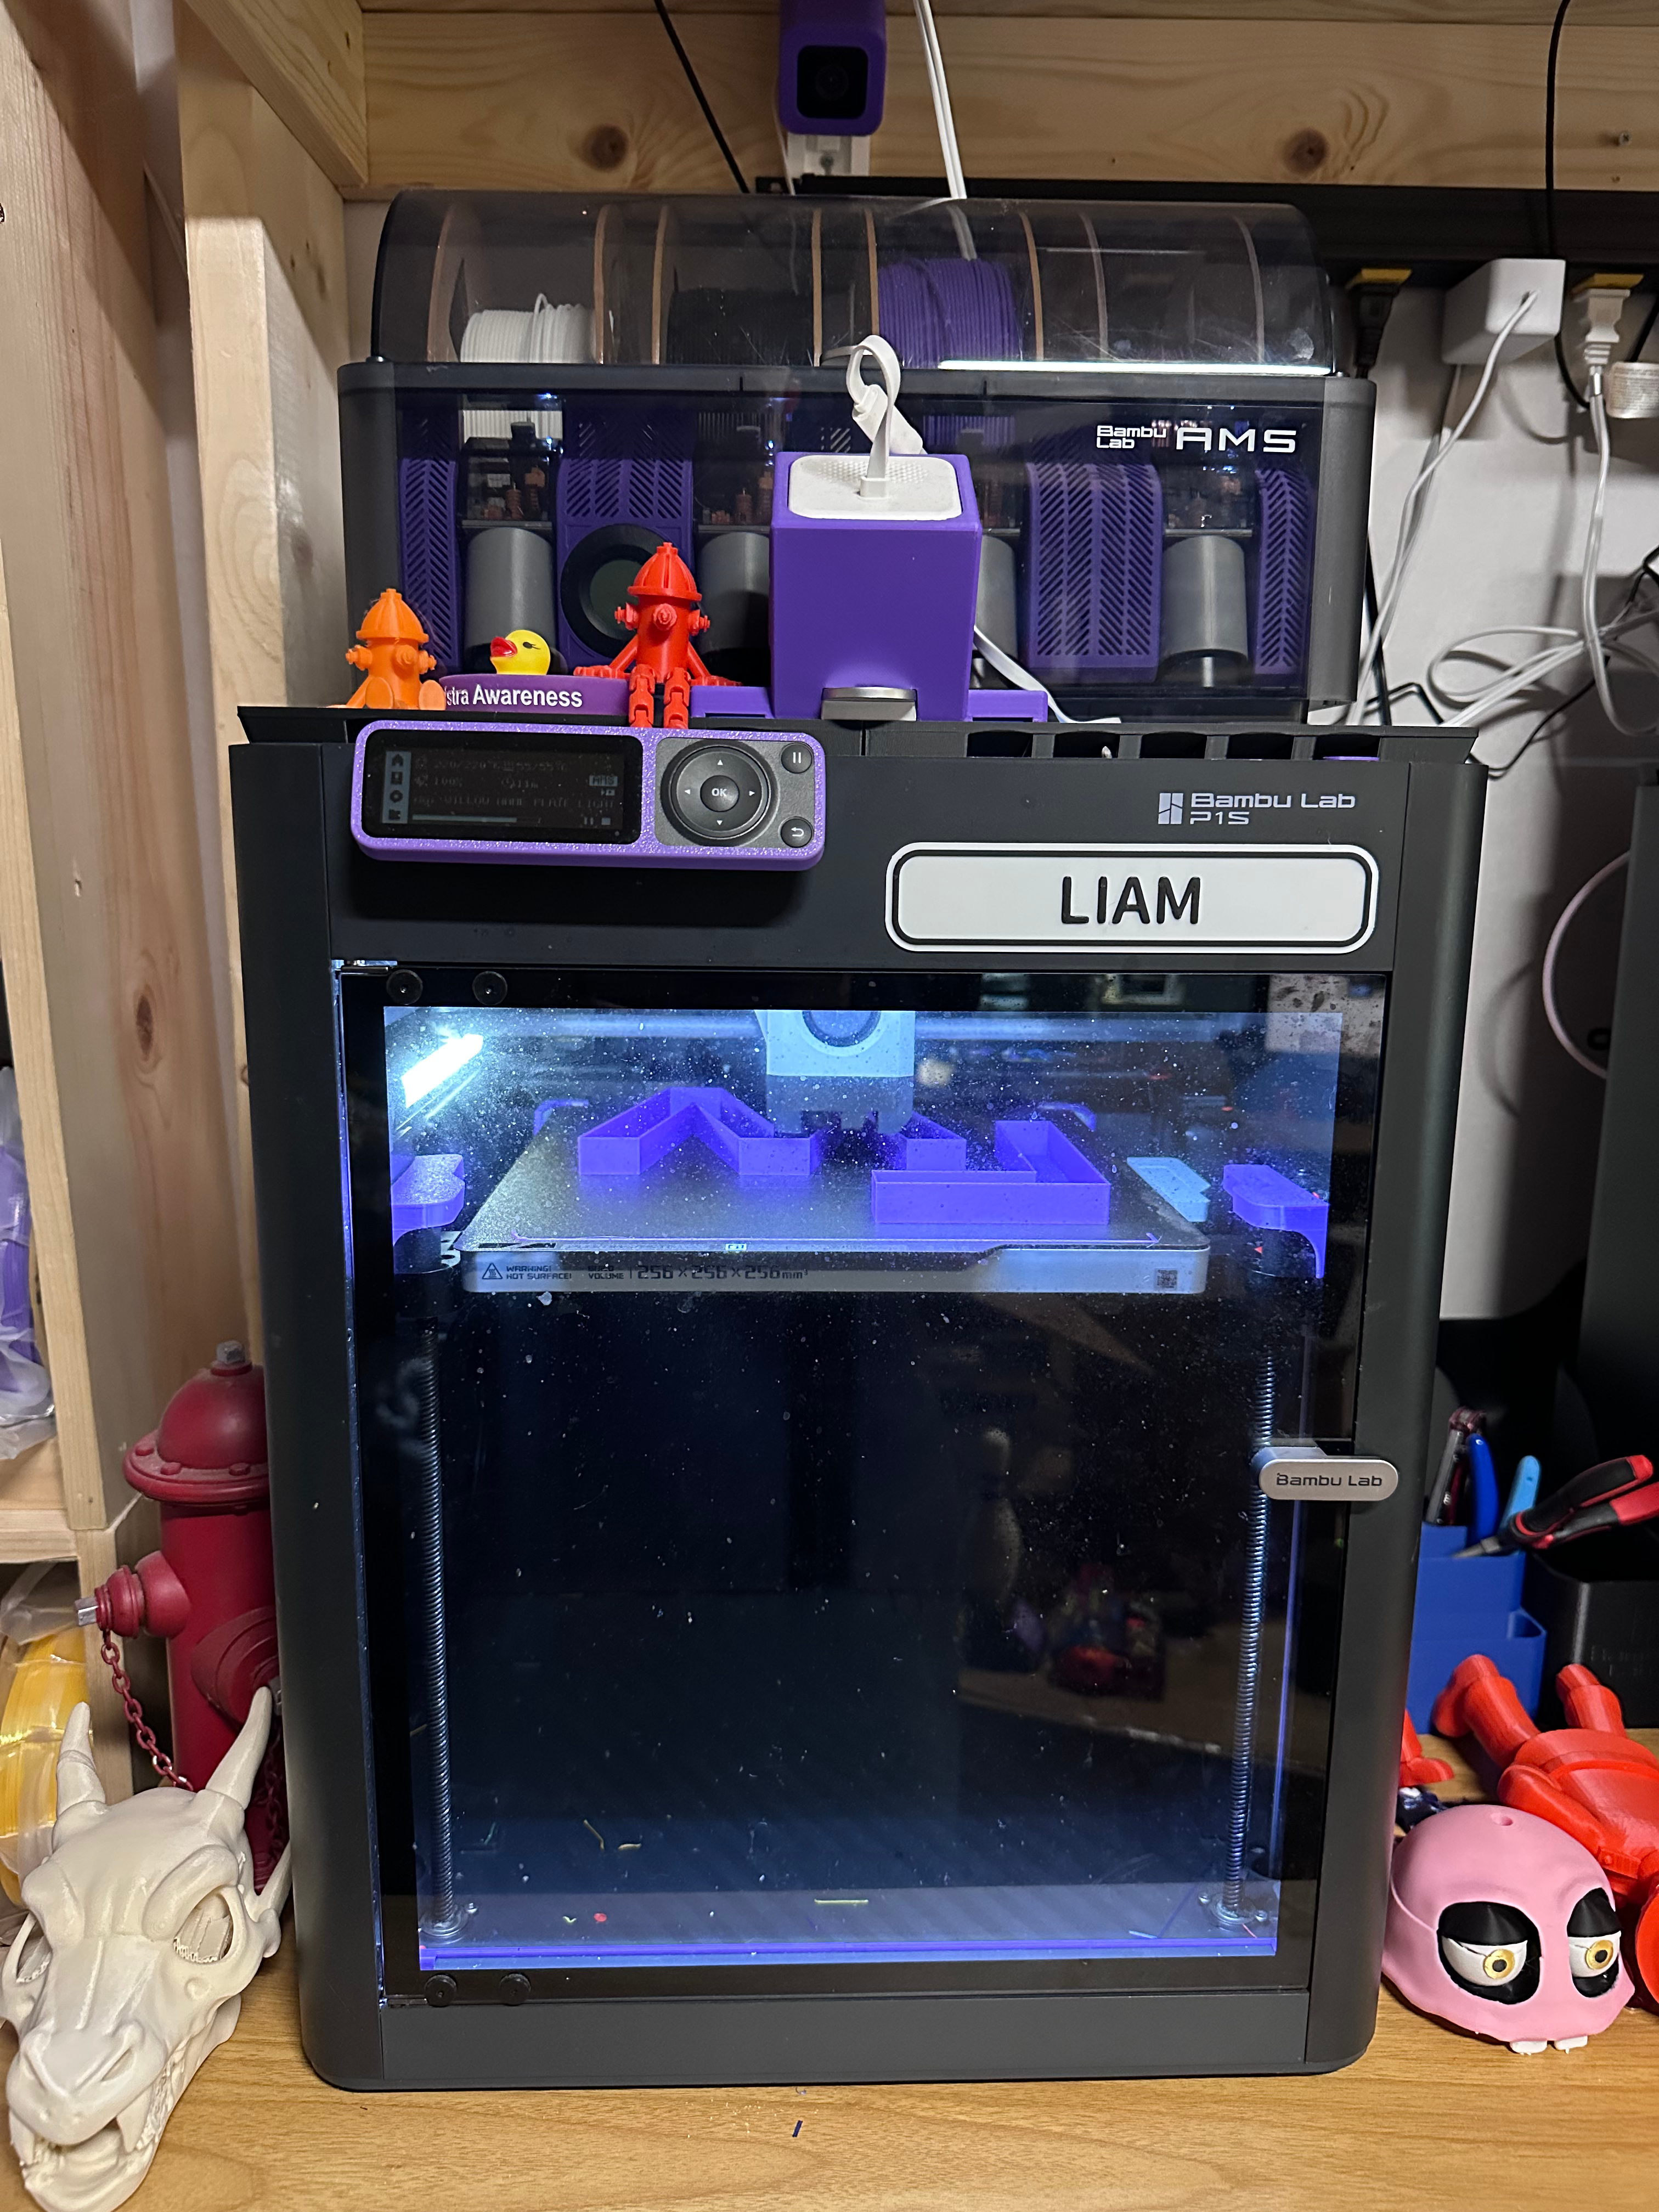
I got my Bambu Lab P1S about 2 weeks ago and have to say I am very impressed. The printer itself is sturdy and reliable. The software is easy to use and intuitive. Overall I would give an excellent rating and would recommend it for those who are new to 3D printing as well as those with experience.

The printer and AMS come in a single box. The AMS is actually shipped inside of the printer. Unboxing the printer was easy. It was well packaged and was not damaged in any way during shipping. The quick-start guide was easy to follow and showed all of the steps in setting up the printer. As long as you follow the guide you shouldn't have any trouble setting up your new printer.

Once you have removed all of the shipping screws and tape, connected the AMS and plugged it in, you should be ready to complete the setup.

After powering the printer on, follow the instructions for connecting the printer to wifi. Once you have connected it to wifi you can connect it to your computer or tablet. I connected mine to my iPad mini. Once you have downloaded the app, you will need to create an account. After logging in to the account you can add the printer. As long as you are on the same wifi connection, setup should be easy. You can scan the QR code or search by pin number. The pin number can be found in the menu on the printer itself.

Once you have added your printer to the app or to Bambu Studio, you are ready to insert your filament. Remove the filament from its packaging and place it in the AMS. Push the end of the filament into the feeder and it should start feeding itself. You can setup the type of filament and the color in the app or in Bambu Studio. If you have Bambu filament it should automaatically detect the filement and add it for you. Once you have loaded your filament you are ready to start printing.

To print you can either search for a model in the app or download one from your favorite model site. Makerworld is the Bambu Lab site and is loaded with models for you to print. Most people print a Benchy for their first print, but you can choose whatever you would like.

Creality Ender 3 S1

This was our very first 3D printer. It was given to us as a gift. It was a great printer to start out with as it taught us a lot. It prints well, but it takes a lot to calibrate it and get it set up to print properly. The bed size is 220 x 220 x 270. It prints a single color from the top-mounted spool holder. Liam has used it to print a lot of teddy bears and other figures. Liam calls it the "Old Machine". The Old Machine gets 4/5 stars because it isn't very easy to use. We have updated the Ender with the Creality Nebula Kit, so it is now connected to wifi like the other printers.